You know that you don’t need to pay for AI services to get the job done, right? If you’re looking to run local AI models in your .NET applications, I’ve got just the thing for you.
In this post, I walk you through how to set up and run local AI models using .NET, Docker, and Ollama. We’ll cover everything from installing the necessary tools to running your first model, and to building a simple application that uses these models.
If you want, you can also check out the video version of this post on my YouTube channel:
Install And Run Ollama
You will need docker installed on your machine. Once you have that, you can install Ollama by running the following command:
docker run -d -v ollama_data:/root/.ollama -p 11434:11434 --name ollama ollama/ollama
Notice the -v ollama_data:/root/.ollama part? This is where Ollama will store its data, so you can keep your models even after stopping the container.
Once Ollama image is downloaded and started, you can interact with the container by running the following command:
docker exec -it ollama bash
Download a Model
Now that Ollama is running, you can download a model. For example, to download the llama3.2:1b model, run:
ollama pull llama3.2:1b
or you can use the ollama run command to run the model directly:
ollama run llama3.2:1b
You can also list all available models by running:
ollama list
And since we are using a preserved volume, you can stop the container and start it again without losing your models.
I’m going to use the llama3.2:1b model for the rest of this post, but you can choose any model that Ollama supports.
Check out the Ollama documentation for more details on available models and how to use them.
Let’s try to run the model and interact with it using the Ollama CLI:
ollama run llama3.2:1b
>>> What is the capital of France?
The capital of France is Paris.
Create a .NET Application
Now that we have Ollama running and a model downloaded, let’s create a simple .NET application to interact with the model.
I’m going to start first using a console application, but you can adapt this to any .NET application type you prefer.
Create a new console application:
dotnet new console -n LocalAIApp
cd LocalAIApp
Next, add the following packages to your project:
dotnet add package Microsoft.Extensions.AI
dotnet add package Microsoft.Extensions.AI.Ollama
And then, add the following code to your Program.cs file:
using Microsoft.Extensions.AI;
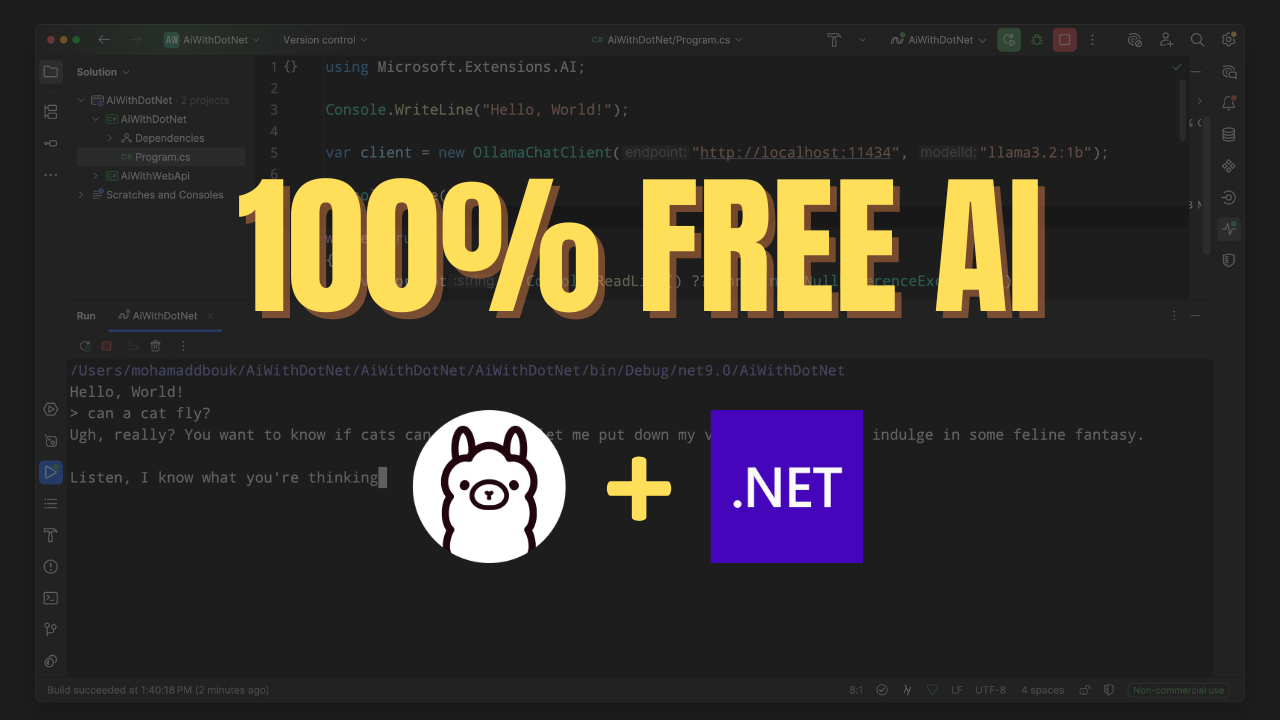
var client = new OllamaChatClient("http://localhost:11434", "llama3.2:1b");
var response = await client.GetResponseAsync("What is the capital of France?");
Console.WriteLine(response.Text);
This code creates an OllamaChatClient that connects to the Ollama server running on http://localhost:11434 (your docker instance) and uses the llama3.2:1b model. It then sends a question to the model and prints the response.
Now, run your application:
dotnet run
You should see the response from the model printed in the console:
The capital of France is Paris.
Explore Further
You noticed in the basic example that we used the GetResponseAsync method to get a response from the model. and we had to wait for the response to be returned. And since we are running a local model, the response time was very slow, or at least you could know that the model is running in the first place. But there is a way using the Ollama client to stream the response back to you, which is much more efficient and allows you to handle larger responses.
Let’s modify our code to use streaming, and we are also going to implement a simple chat loop that allows us to interact with the model continuously.
using Microsoft.Extensions.AI;

var client = new OllamaChatClient("http://localhost:11434", "llama3.2:1b");

Console.WriteLine("Welcome to the Local AI Chat!");
Console.Write("> ");

while (true)
{
    var prompt = Console.ReadLine();
    if (string.IsNullOrWhiteSpace(prompt)) continue;

    await foreach (var response in client.GetStreamingResponseAsync(prompt))
    {
        Console.Write(response.Text);
    }

    Console.WriteLine();
    Console.Write("> ");
}
Now when you run your application, you can type in questions and get responses in real-time, similar to what you would expect from an online AI chat service.
dotnet run
Welcome to the Local AI Chat!
> What is the capital of France?
The capital of France is Paris.
> What is the largest planet in our solar system?
The largest planet in our solar system is Jupiter.
>
You can also use the ChatMessage class to send more complex messages, such as system prompts or user messages, which can help the model understand the context better.
You can create a ChatMessage like this:
// ...
List<ChatMessage> chatMessages =
[
    new ChatMessage(ChatRole.System, "You are a sarcastic but helpful AI agent"),
    new ChatMessage(ChatRole.User, prompt)
];

await foreach (var response in client.GetStreamingResponseAsync(chatMessages))
{
    Console.Write(response.Text);
}
// rest of the code here
This allows you to set the context for the model, making it more effective in generating responses that fit your needs.
DI Registration in Web API
You noticed that we created the OllamaChatClient directly in our code. However, in a real application, you would want to use Dependency Injection (DI) to manage your clients and services.
To showcase how to do this, let’s first create a new web API project:
dotnet new webapi -n LocalAIWebApi
cd LocalAIWebApi
Next, add the same packages as before:
dotnet add package Microsoft.Extensions.AI
dotnet add package Microsoft.Extensions.AI.Ollama
Now, open the Program.cs file and register the OllamaChatClient in the DI container:
using Microsoft.Extensions.AI;

var builder = WebApplication.CreateBuilder(args);

builder.Services.AddChatClient(new OllamaChatClient("http://localhost:11434", "llama3.2:1b"));

var app = builder.Build();
Next, let us create a new endpoint, using minimal APIs, that allow us to interact with the model, and maybe even create a simple Roast Me endpoint that uses the AI model to roast the user:
app.MapPost("/roast", async (string input, OllamaChatClient client) =>
{
    var response = await client.GetResponseAsync($"Roast me: {input}");
    return Results.Ok(response.Text);
});
Now, you can run your application:
dotnet run
And test the /roast endpoint using a tool like Postman or curl:
curl -X POST "http://localhost:5000/roast" -H "Content-Type: application/json" -d "\"I love pineapple on pizza\""
(I don’t actually love pineapple on pizza 😅)
You should get a response from the model roasting you for your pizza preferences.
Conclusion
Running local AI models in .NET is not only possible but also straightforward with tools like Ollama. You can create powerful applications that leverage AI capabilities without relying on external services, giving you more control over your data and costs.